The Art of Levelling Your Home Lawn: A Simple Step-by-Step Guide
When it comes to lawn mowing, manoeuvring over uneven terrain can be frustrating. A levelled lawn not only enhances its appearance and simplifies grass maintenance, but also offers additional benefits. You will need a flat lawn for using a cylinder mower so you don't get scalping. This will help you achieve the best lawn stripes. A flat lawn will also help with drainage.
Step 1: Survey the lawn before you start levelling, it's important to get a good understanding of the existing contours of your lawn. Walk around the lawn, paying attention to the high and low spots. Take note of the direction of any slopes, as well as the overall shape of the lawn. Uneven ground can sometimes be the result of drainage issues or damaged water pipes.
Step 2: Mark out the high and low spots using flags or spray paint, mark out the high and low spots that you've identified. This will help you to see the areas that need to be levelled and give you a visual reference as you work.

Step 3: Remove debris
Remove any debris such as sticks, rocks, and dead leaves from the lawn. This will help to prevent any damage to your equipment and make it easier to level the ground.
Step 4: Add Topsoil/Sand/Compost to Low Spots
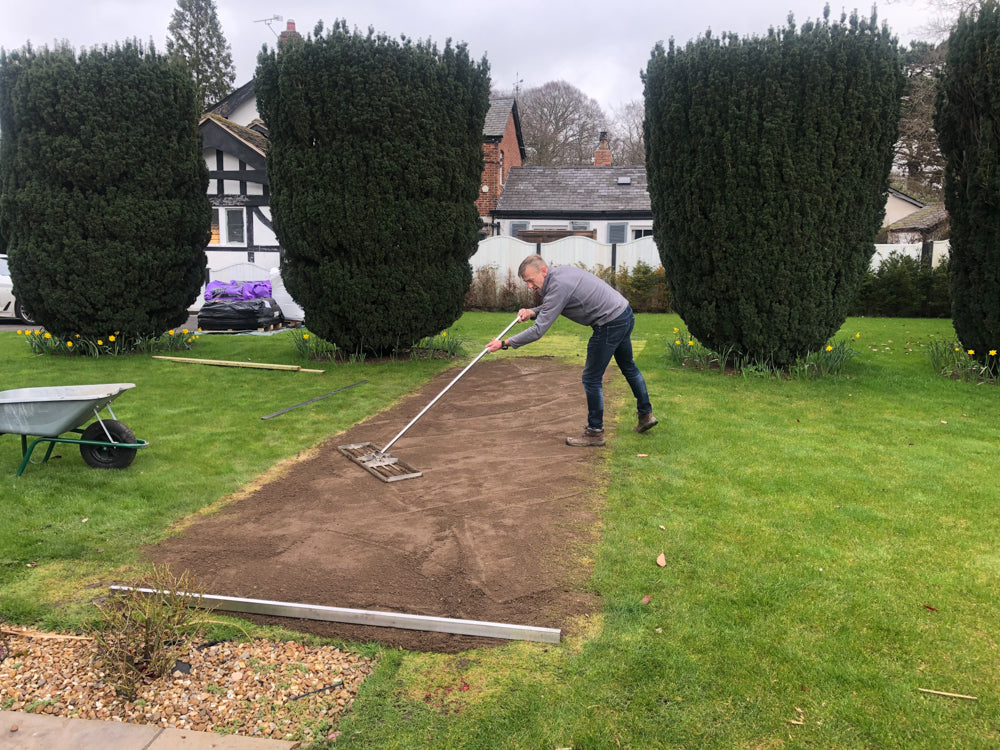
Low spots in your lawn can be levelled by adding topsoil. Shallow hollows can be filled with top-soil, sand, or a mix of top-soil and sand (1/2 and 1/2) or compost, which serves as a good fertiliser. Use a garden rake or lawn lute to spread the above over the low spots, then use a lawn roller to pack it down. Repeat this process until the low spot is level with the rest of the lawn. Try not to use any more than 2cm of topsoil as it will smother the lawn.
Water the dips and channels using a fine mist spray from the hose. Be careful not to over-water; just enough to aid the mixture in settling into the grass is sufficient.
If using sand make sure you are using washed sand rather than lawn sand.
Step 5: Fill High Spots with Excavated Soil
High spots can be levelled by removing soil and spreading it evenly over the low spots. Use a shovel or garden hoe to remove soil from the high spots and distribute it over the low spots. Be sure to pack the soil down with a lawn roller to ensure that it stays in place.
Step 6: Reseed
Once you've levelled the lawn, you may need to reseed any bare spots that were created during the process. This will help to ensure that the lawn is thick and healthy, and will fill in any gaps that were created during the levelling process.
Step 7: Maintain the Lawn
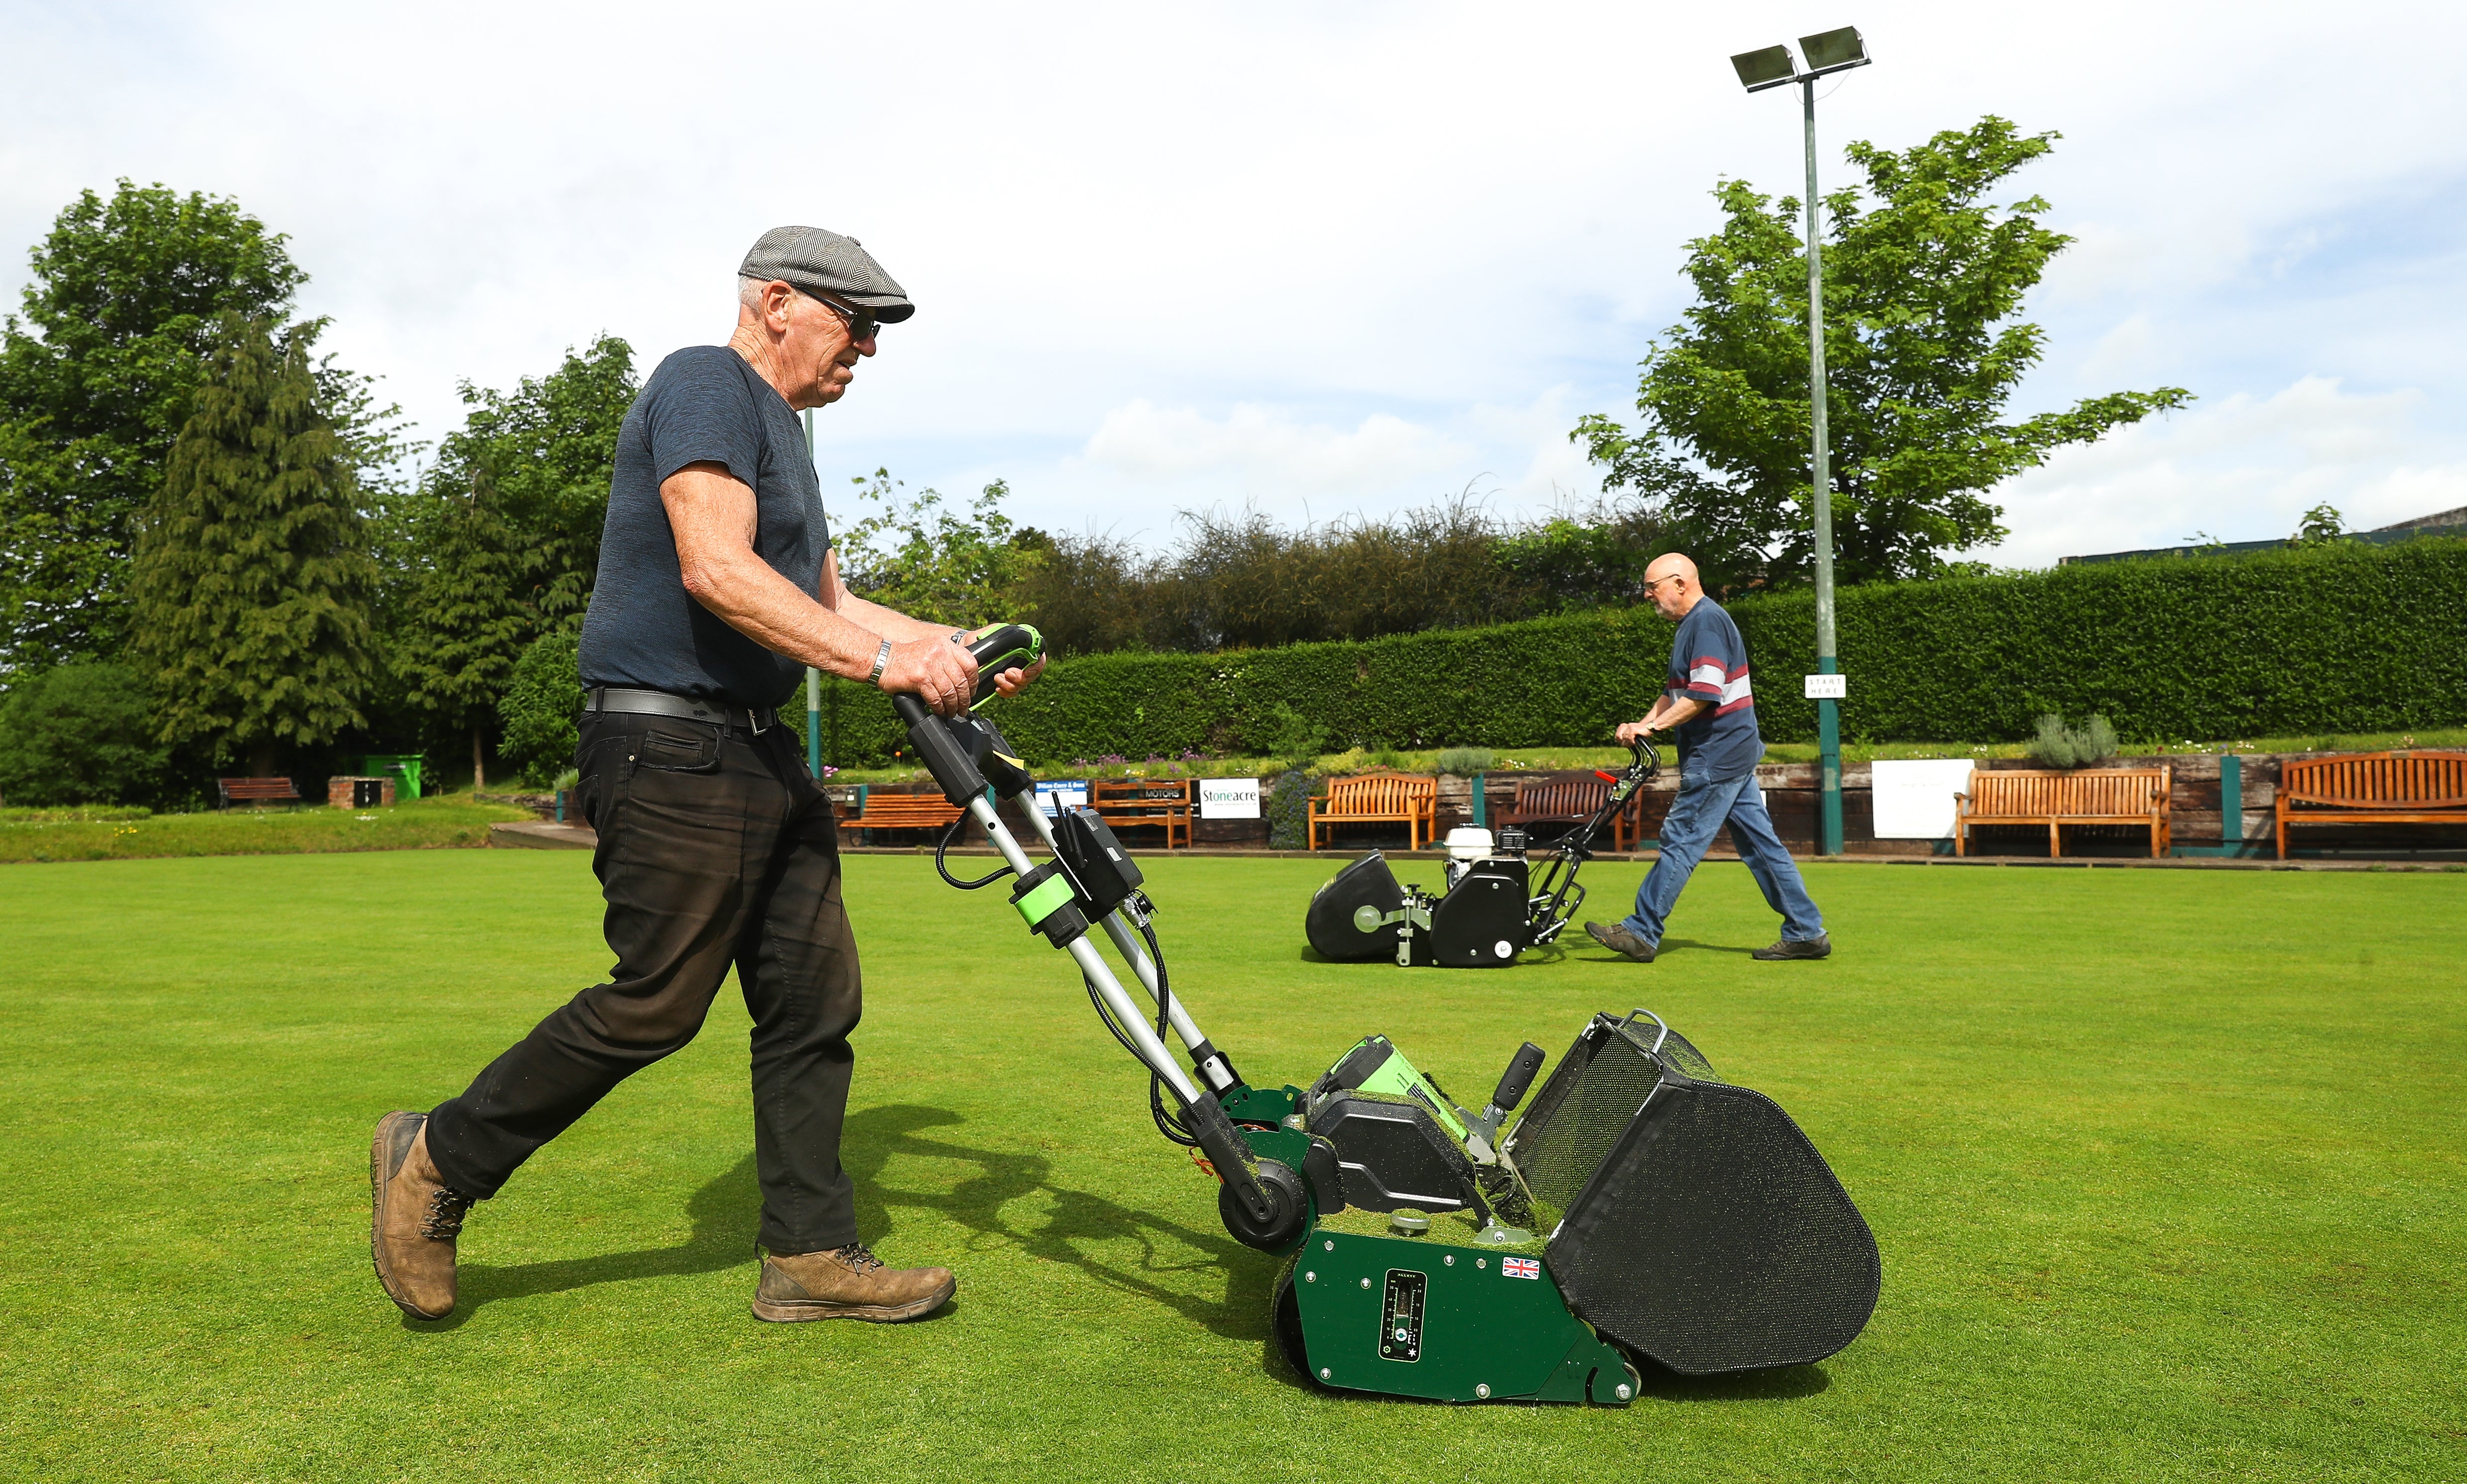
Maintaining the lawn is key to keeping it looking great. Regular watering, fertilising, and mowing will keep the grass healthy and prevent new high and low spots from developing. You should also be making use of the Allett range of cartridges to keep on top of thatch levels and lateral lying grasses.
By following these steps, you'll be able to level your home lawn and have a beautiful, well-manicured yard that you can be proud of. Whether you're a seasoned gardener or just starting out, this guide provides a simple, straightforward approach to lawn levelling that anyone can follow.
The best time of year to level your lawn is spring or early Autumn when your grass is growing.
You can see Allett's LAWN RENOVATION journey here on YOUTUBE

Leave a comment
This site is protected by hCaptcha and the hCaptcha Privacy Policy and Terms of Service apply.